
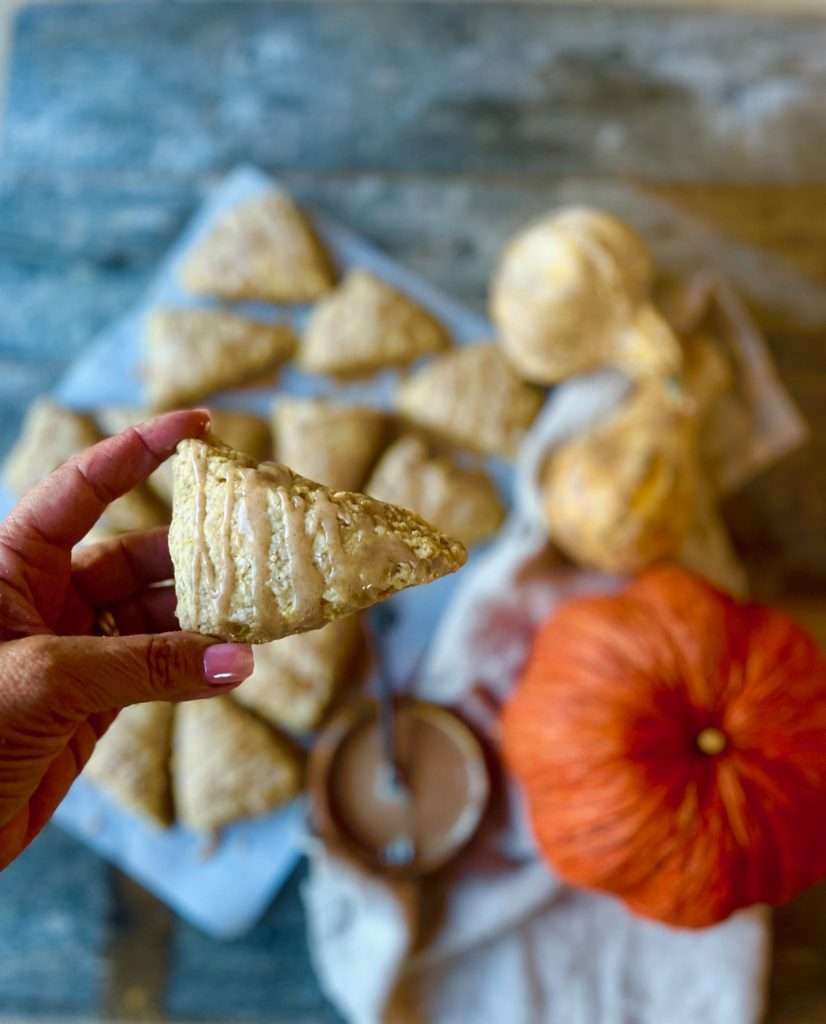
As the crisp fall air settles in and pumpkin flavors fill every kitchen, there’s one comforting baked good that’s a must-try: Glazed Pumpkin Scones. These scones are a delicious blend of warm spices, delicate pumpkin flavor, and soft, crumbly texture—perfect with a cup of coffee or tea on chilly mornings. Not only are these scones delicious, but they’re also versatile, allowing you to adapt the recipe with add-ins, flavor changes, and even make-ahead options. Let’s dive into what makes these pumpkin scones an autumn favorite!
Jump to RecipeI don’t know about you but, when the weather gets cold, I just crave carbs.
Actually, I crave carbs all the time…but, now more than ever. There is something about that starchy, belly-filling goodness that makes me giddy when winter in on the horizon.
In the summer months, I can drive right by a Starbucks but in the fall and winter, the store calls my name. And my voice always seems to say, “come…have a warm drink…and what about a pumpkin scone?”.
I’m being serious…I really hear that!
So, I had to find myself a good copycat recipe for these glazed pumpkin scones (or, soon, I wouldn’t be able to fit through Starbuck’s front door!). My friend, Jenn, came to the rescue.
You may all have girlfriends you trade designer scarves with or guy friends that you borrow a tie from ’cause that’s what guys do (I’m not really sure on that one, though…do guys do that?). But, me and Jenn…we talk food…like, always.
So that day she said she found the perfect recipe for glazed pumpkin scones that taste exactly like Starbucks, I was thrilled.
Thanks Jenn for the recipe.
But, like a good friend, will you be there to push me through the door when I’ve eaten too many, right??
Why You’ll Love This Recipe
This recipe for glazed pumpkin scones brings together the classic flavors of pumpkin pie and the comforting texture of a homemade scone. The scones are light, tender but slightly crisp on the outside, with hints of cinnamon, nutmeg, and cloves rounding out the pumpkin flavor. They’re also incredibly versatile—you can add chocolate chips, nuts, or even a maple glaze for extra indulgence. Plus, they store well, making them ideal for a make-ahead treat to enjoy all week long.
Ingredients:
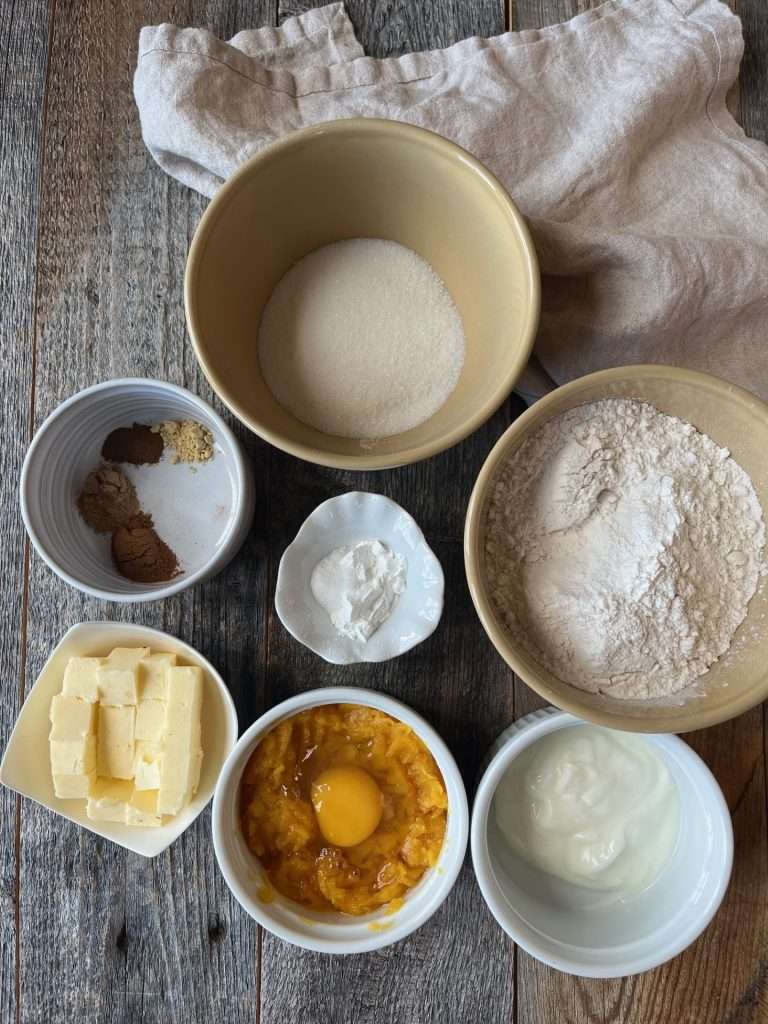
Each ingredient in this recipe has a specific role to play, whether it’s for flavor, texture, or structure:
- Flour
The backbone of any scone, flour provides the structure and creates the crumbly, tender texture. Use all-purpose flour for the best balance of structure and softness. - Pumpkin Puree
Pumpkin puree adds a subtle earthy sweetness and moisture to the scones, making them incredibly tender. Opt for pure pumpkin puree and not pumpkin pie filling, which contains added sugar and spices. And if you’re frugal, you can make your own (all the details are in this post!!) - Sugar
A bit of sweetness is necessary to enhance the pumpkin flavor without overpowering it. Granulated sugar is traditional, but brown sugar can be used for a deeper, molasses-like flavor. - Baking Powder
This leavening agent ensure the scones rise well, creating a light, airy texture while balancing the acidity of the pumpkin puree. - Salt
Just a pinch of salt is essential to balance the sweetness and bring out the flavors of the spices. - Butter
Cold butter is a must for tender, flaky scones. The butter should be cut into the flour, creating pockets of steam as it melts, which contributes to a flaky texture (hint; you can use your hands to “rub” the butter into the flour but if you have warm hands, I’d suggest you use a pastry cutter). - Spices (Cinnamon, Nutmeg, Cloves, and Ginger)
These classic spices add warmth and depth to the pumpkin, giving the scones a cozy fall flavor. Adjust the spice levels to suit your preference! - Sour Cream or Yogurt
This brings the dough together and adds richness to the scones. Heavy cream and buttermilk (which can be subbed in here) yields a more tender crumb, while yogurt makes for a slightly lighter scone. - Eggs
The egg acts as a binding agent and also adds to the leavening power of the baking powder.
Substitutions, Add-Ins, and Flavor Changes
This recipe is easily adaptable to suit your tastes and dietary needs:
- Flour Alternatives: For a gluten-free option, try a 1:1 gluten-free flour blend (my favourite is Bob’s Red Mill). You can also swap up to half of the flour with whole wheat flour for a denser, heartier scone.
- Dairy-Free Option: Replace butter with coconut oil or a plant-based butter alternative, and use a dairy-free yogurt or sour cream.
- Sweetener Swaps: If you prefer a less sweet scone, reduce the sugar slightly (only by a tablespoon or two) or use coconut sugar for a natural alternative.
- Add-Ins: For extra flavor and texture, fold in mini chocolate chips, chopped pecans, or even cranberries. These add a nice contrast to the pumpkin and spice.
- Glaze Options: Consider drizzling your scones with a maple glaze (add maple extract and remove cinnamon). The glaze adds a layer of sweetness and makes the scones feel a bit more indulgent but you can leave the glaze out altogether.
- Extra Spice: Feel free to add extra cinnamon or try a pumpkin pie spice blend instead of all the spices individually.
How to Make Tender Glazed Pumpkin Scones
Making these glazed pumpkin scones is straightforward and enjoyable:
- Combine Dry Ingredients: Start by whisking the flour, sugar, baking powder, baking soda, salt, and spices in a large mixing bowl.
- Cut in Butter: Add cold butter to the dry mixture, cutting it in with a pastry cutter or fork until it resembles coarse crumbs. These small pieces of butter will create the tender, flaky texture you’re after.
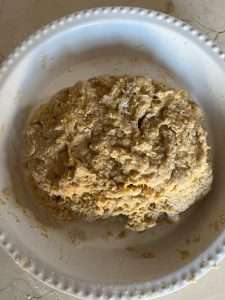
- Add Wet Ingredients: In a separate bowl, whisk together the pumpkin puree, yogurt and egg. Pour this mixture into the dry ingredients, stirring gently until just combined (overmixing will create a tough scone.
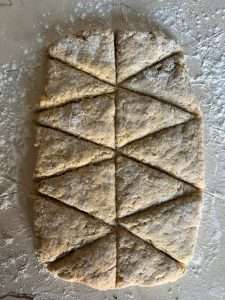
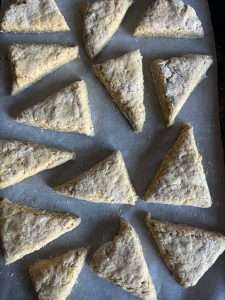
- Form the Dough and Cut Scones: Lightly flour a surface and pat the dough into a rectangle about 1-inch thick. Use a knife or bench scraper to cut the dough into triangles.
- Bake: Place the scones on a lined baking sheet and bake until golden brown. Allow them to cool slightly before adding any glaze.
Storing, Freezing, and Make-Ahead Tips
These glazed pumpkin scones store and freeze well, making them ideal for meal prep or a quick treat:
- Storing: Store cooled scones in an airtight container at room temperature for up to 3 days. They’re best enjoyed fresh but can be reheated in the microwave for a few seconds (if they are glazed, it will get a bit runny…but still delicious) to regain their soft texture.
- Freezing: To freeze unbaked scones, arrange them on a baking sheet and freeze until solid, then transfer to a freezer-safe container. Bake them straight from frozen, adding a few extra minutes to the baking time. Baked scones can also be frozen and reheated in the oven.
- Make-Ahead: Prepare the dough the night before, shape the scones, and refrigerate them overnight. In the morning, simply pop them in the oven for freshly baked scones without the morning prep.
If You Like These Glazed Pumpkin Scones, Here Are Other Recipes You’ll Love:
If you’re craving more fall-inspired treats or scone recipes, here are some other delicious options:
- Gluten Free Quinoa Pumpkin Muffins: With a buttery crumb and a cream cheese glaze, these muffins are perfect for fall.
How to Make Biscuits with Sourdough Starter Discard: If fall baking means you’re also going to revitalize your sourdough starter, these scones are a perfect way to use up your discard.
Everything You Need to Know about British Scones: This post will teach you all you need to know about a typical (British) scone and how to bake them up to impress your family and friends.
Inside Out Peach Scones: If you’re lucky enough to have a stash of local peaches in your freezer, you should really try these delicious morsels!!
Mouth Watering Spring Onion Ham and Ricotta Scones: Let’s not forget the savoury scone!! These delicous scone are a perfect accompaniment for a hearty bowl of homemade soup or stew!
These tender pumpkin scones are the perfect fall treat, capturing all the warm flavors of the season in every bite. They’re easy to make, adaptable to various diets, and can be stored for later enjoyment, making them a convenient and delicious addition to your baking lineup. Whether you enjoy them plain, add a drizzle of maple glaze, or fold in chocolate chips, these scones are sure to bring comfort and joy to any autumn morning. Happy baking!

Glazed Pumpkin Scones
Ingredients
Scones:
- 2 cup flour
- 1/2 cup sugar
- 1 tbsp baking powder
- 1/2 tsp salt
- 1/2 tsp cinnamon
- 1/2 tsp nutmeg
- 1/4 tsp cloves
- 1/4 tsp ginger
- 6 tbsp cold butter
- 1/2 cup pumpkin puree
- 3 tbsp sour cream or yogurt
- 1 large egg
Spice Glaze:
- 1 cup icing sugar
- 2-3 tbsp milk
- 1/4 tsp cinnamon
Instructions
- Preheat the oven to 425 and line a baking sheet with parchment paper.
- In a large bowl, combine flour, sugar, baking powder, salt and spices.
- Using your hands or a pastry cutter, cut butter into the dry mix until it resembles a coarse meal; set aside
- In another bowl, whisk together pumpkin, yogurt and egg.
- Fold wet ingredients into dry and gently mix into a ball; don't overmix.
- Pat dough out, gently, onto a floured surface and form into a rectangle 9" x 3"; slice lengthwise into 2 equal pieces and then cut each piece so you have 9 triangular pieces.
- Meanwhile, get your glaze ingredients ready (just mix them all together in a bowl); set aside.
- Instead of the triangle, you can just use a round cookie cutter and cut into rounds like this (the only thing with this method is re-rolling...this dough makes tough scones if you work it too much, so take the scraps and gently push the pieces together and cut more shapes; if you knead it, you will get pumpkin flavoured hockey pucks!).
- Place them on a baking sheet with a bit of room between them (they get bigger but don't spread like a chocolate chip cookie!) and bake for 14 - 16 minutes.
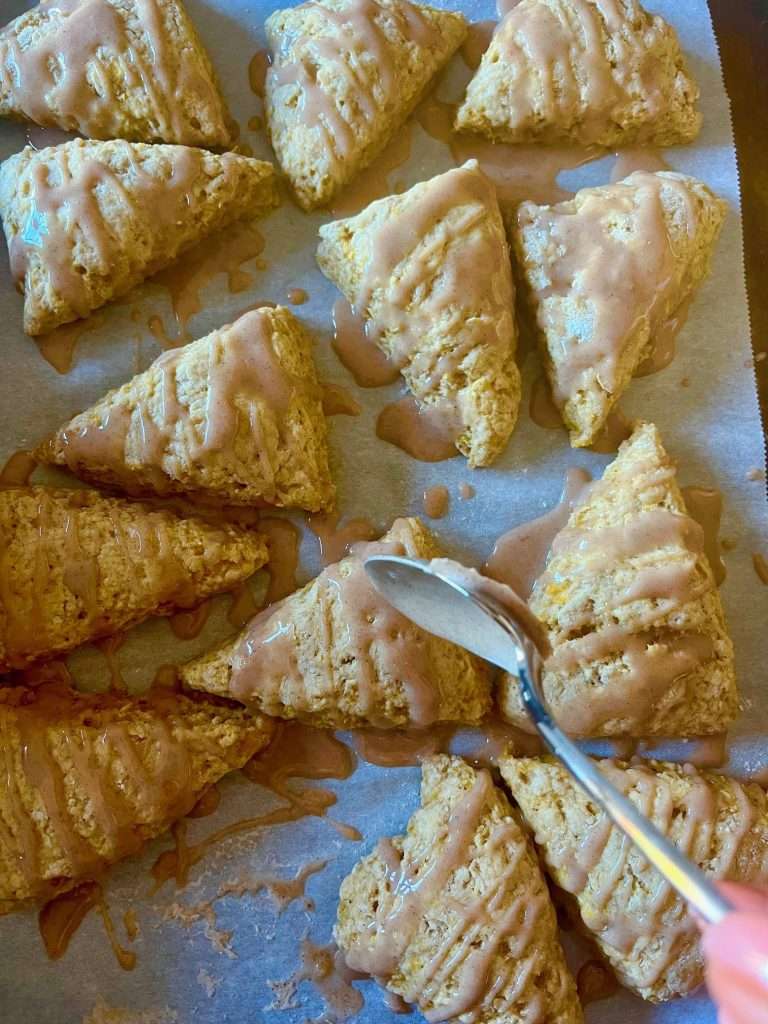
- Remove from the oven and let cool for a couple of minutes; drizzle the glaze onto each scone.
Notes
Now you have scones to bake fresh whenever you want them. If you wan't perfect squiggles of glaze, place the mixed glaze into a Ziploc bag; when you're ready, simply snip the corner and drizzle away!!



0 Comments